home & garden
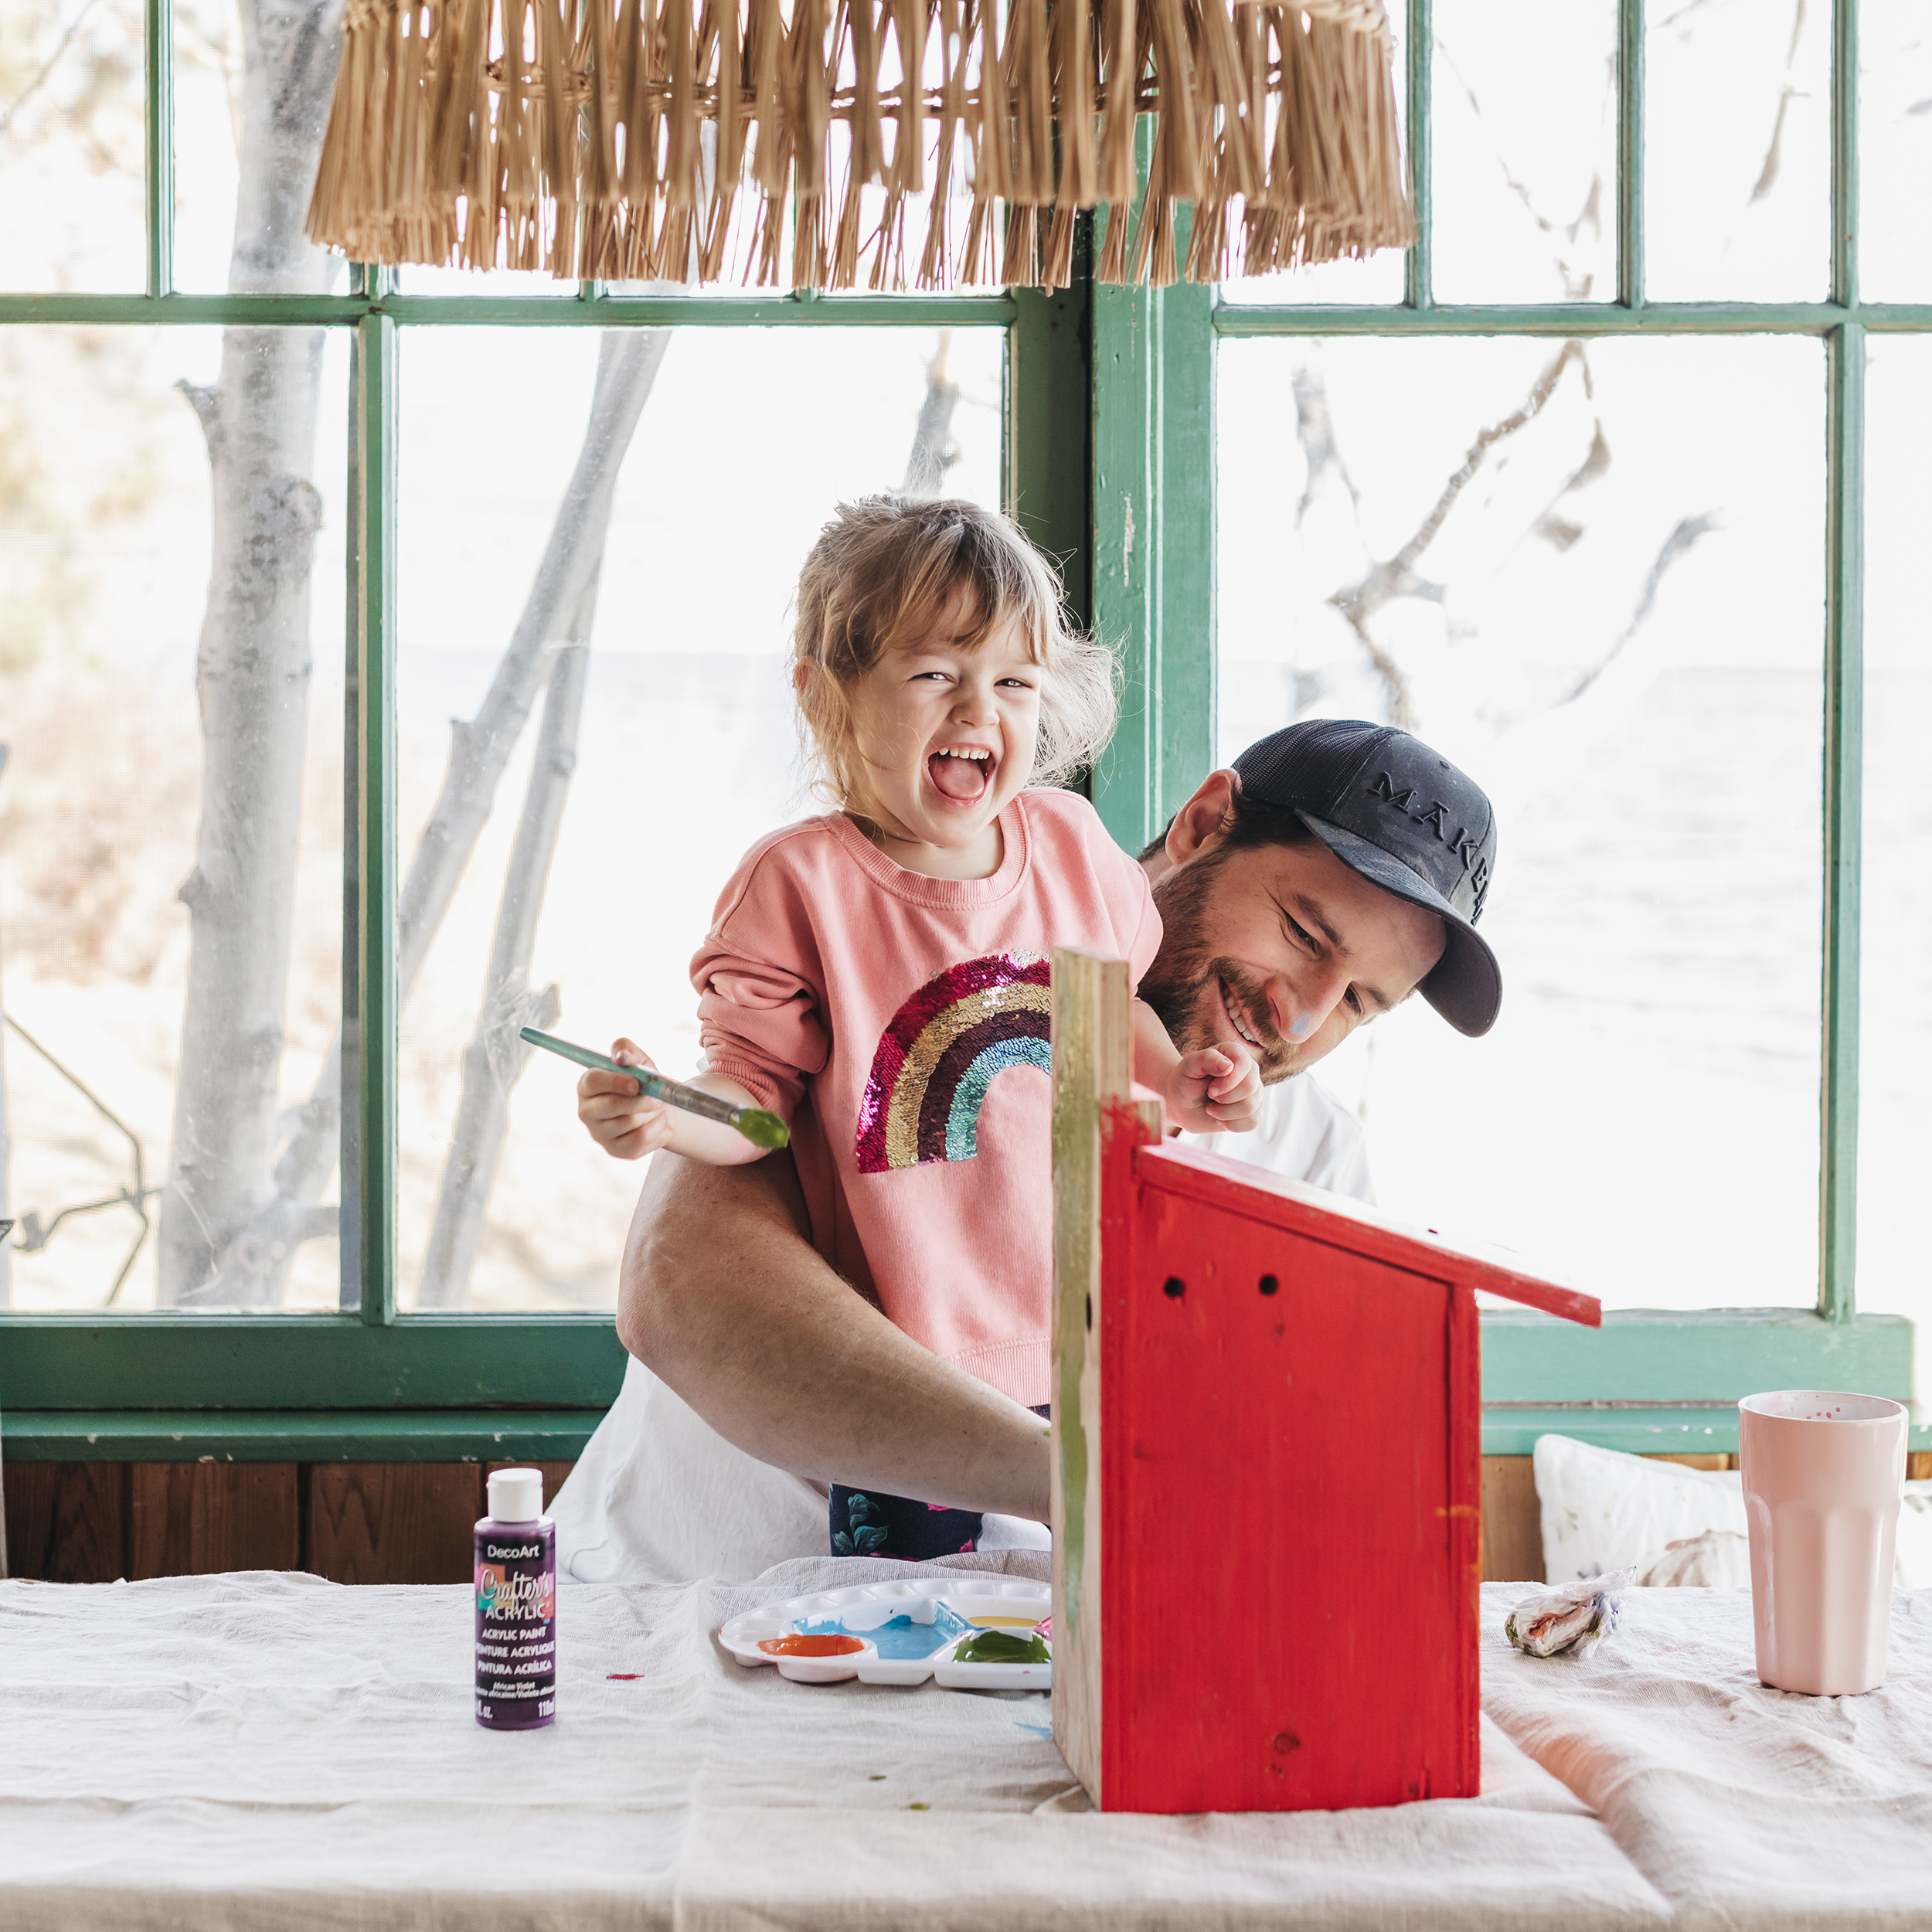
I have always been a big advocate for promoting eco-systems and if you can help create them in your own backyard, why not? I truly believe that we all have some sort of obligation to help our world and nature thrive, which is why I wanted to share this blog with you today. Not that building one birdhouse is going to make a huge difference, but if we all committed to making one birdhouse it does add up, plus it’s a fun project to do with your kids.
As many of you know by now, Jill and I bought our farm just over a year ago and this is what sparked this birdhouse DIY project! When we took possession of the property the previous owners had so many birdhouses scattered around, but most of them were either rotting or falling apart and this year I really wanted to fix them up and build a few more.
Now that we have the flower farm on the property this acts as a natural magnet to all kinds of birds, even bald eagles, and black-bearded swans. In fact, last summer as I was walking through the flower field one day, I watched a hummingbird feed from one of the flowers and it stopped me right in my tracks, call me emotional, but it was such a beautiful thing to witness.
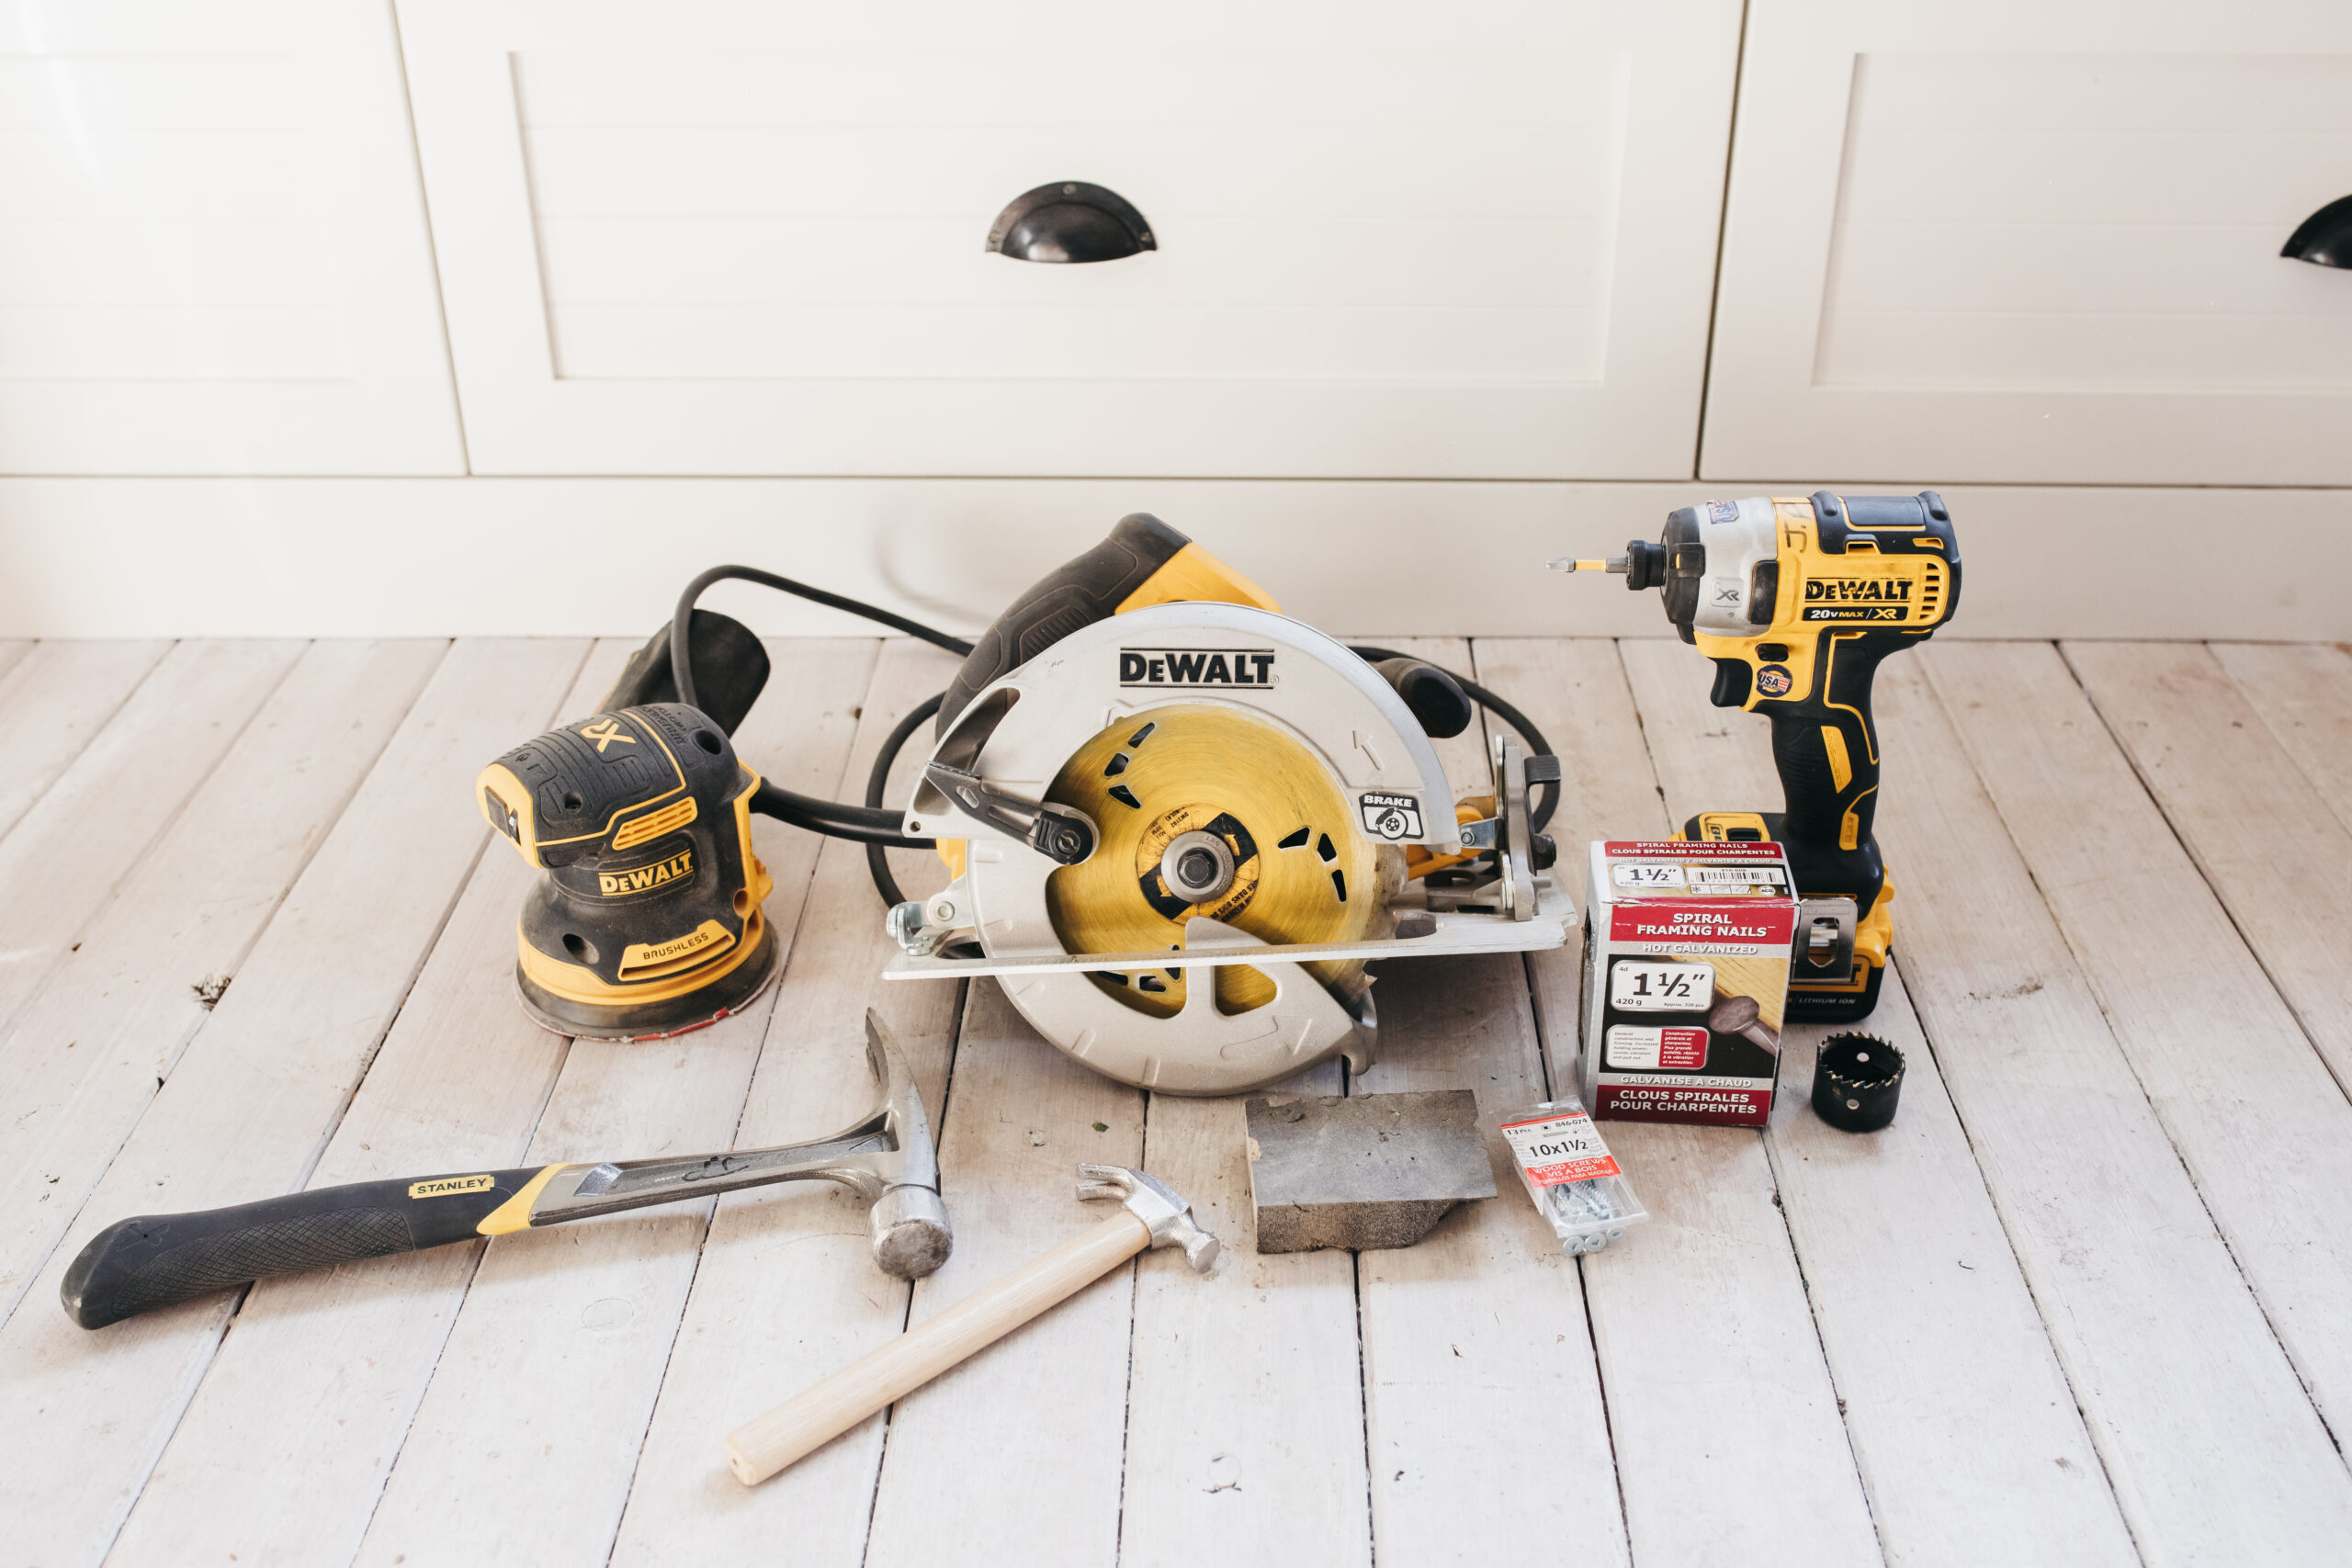
Luckily I had a bunch of scrap wood kicking around, so if you have some laying around as well it would be great to use up for this project. So here are some of the supplies you will need for this DIY.
Birdhouse DIY Supplies
- 1 x 6 x 8-foot board
- 1 hole saw bit to cut out the hole. Either 11/4 inch or 11/2 inch is the size you’ll need.
- A table saw is preferred, but a skill saw works if you have a steady hand and remember to always wear PPE.
- Drill
- Galvanized or stainless steel nails 11/4 inch
- 500 grit sandpaper or a palm sander
- Hammer
- Screws
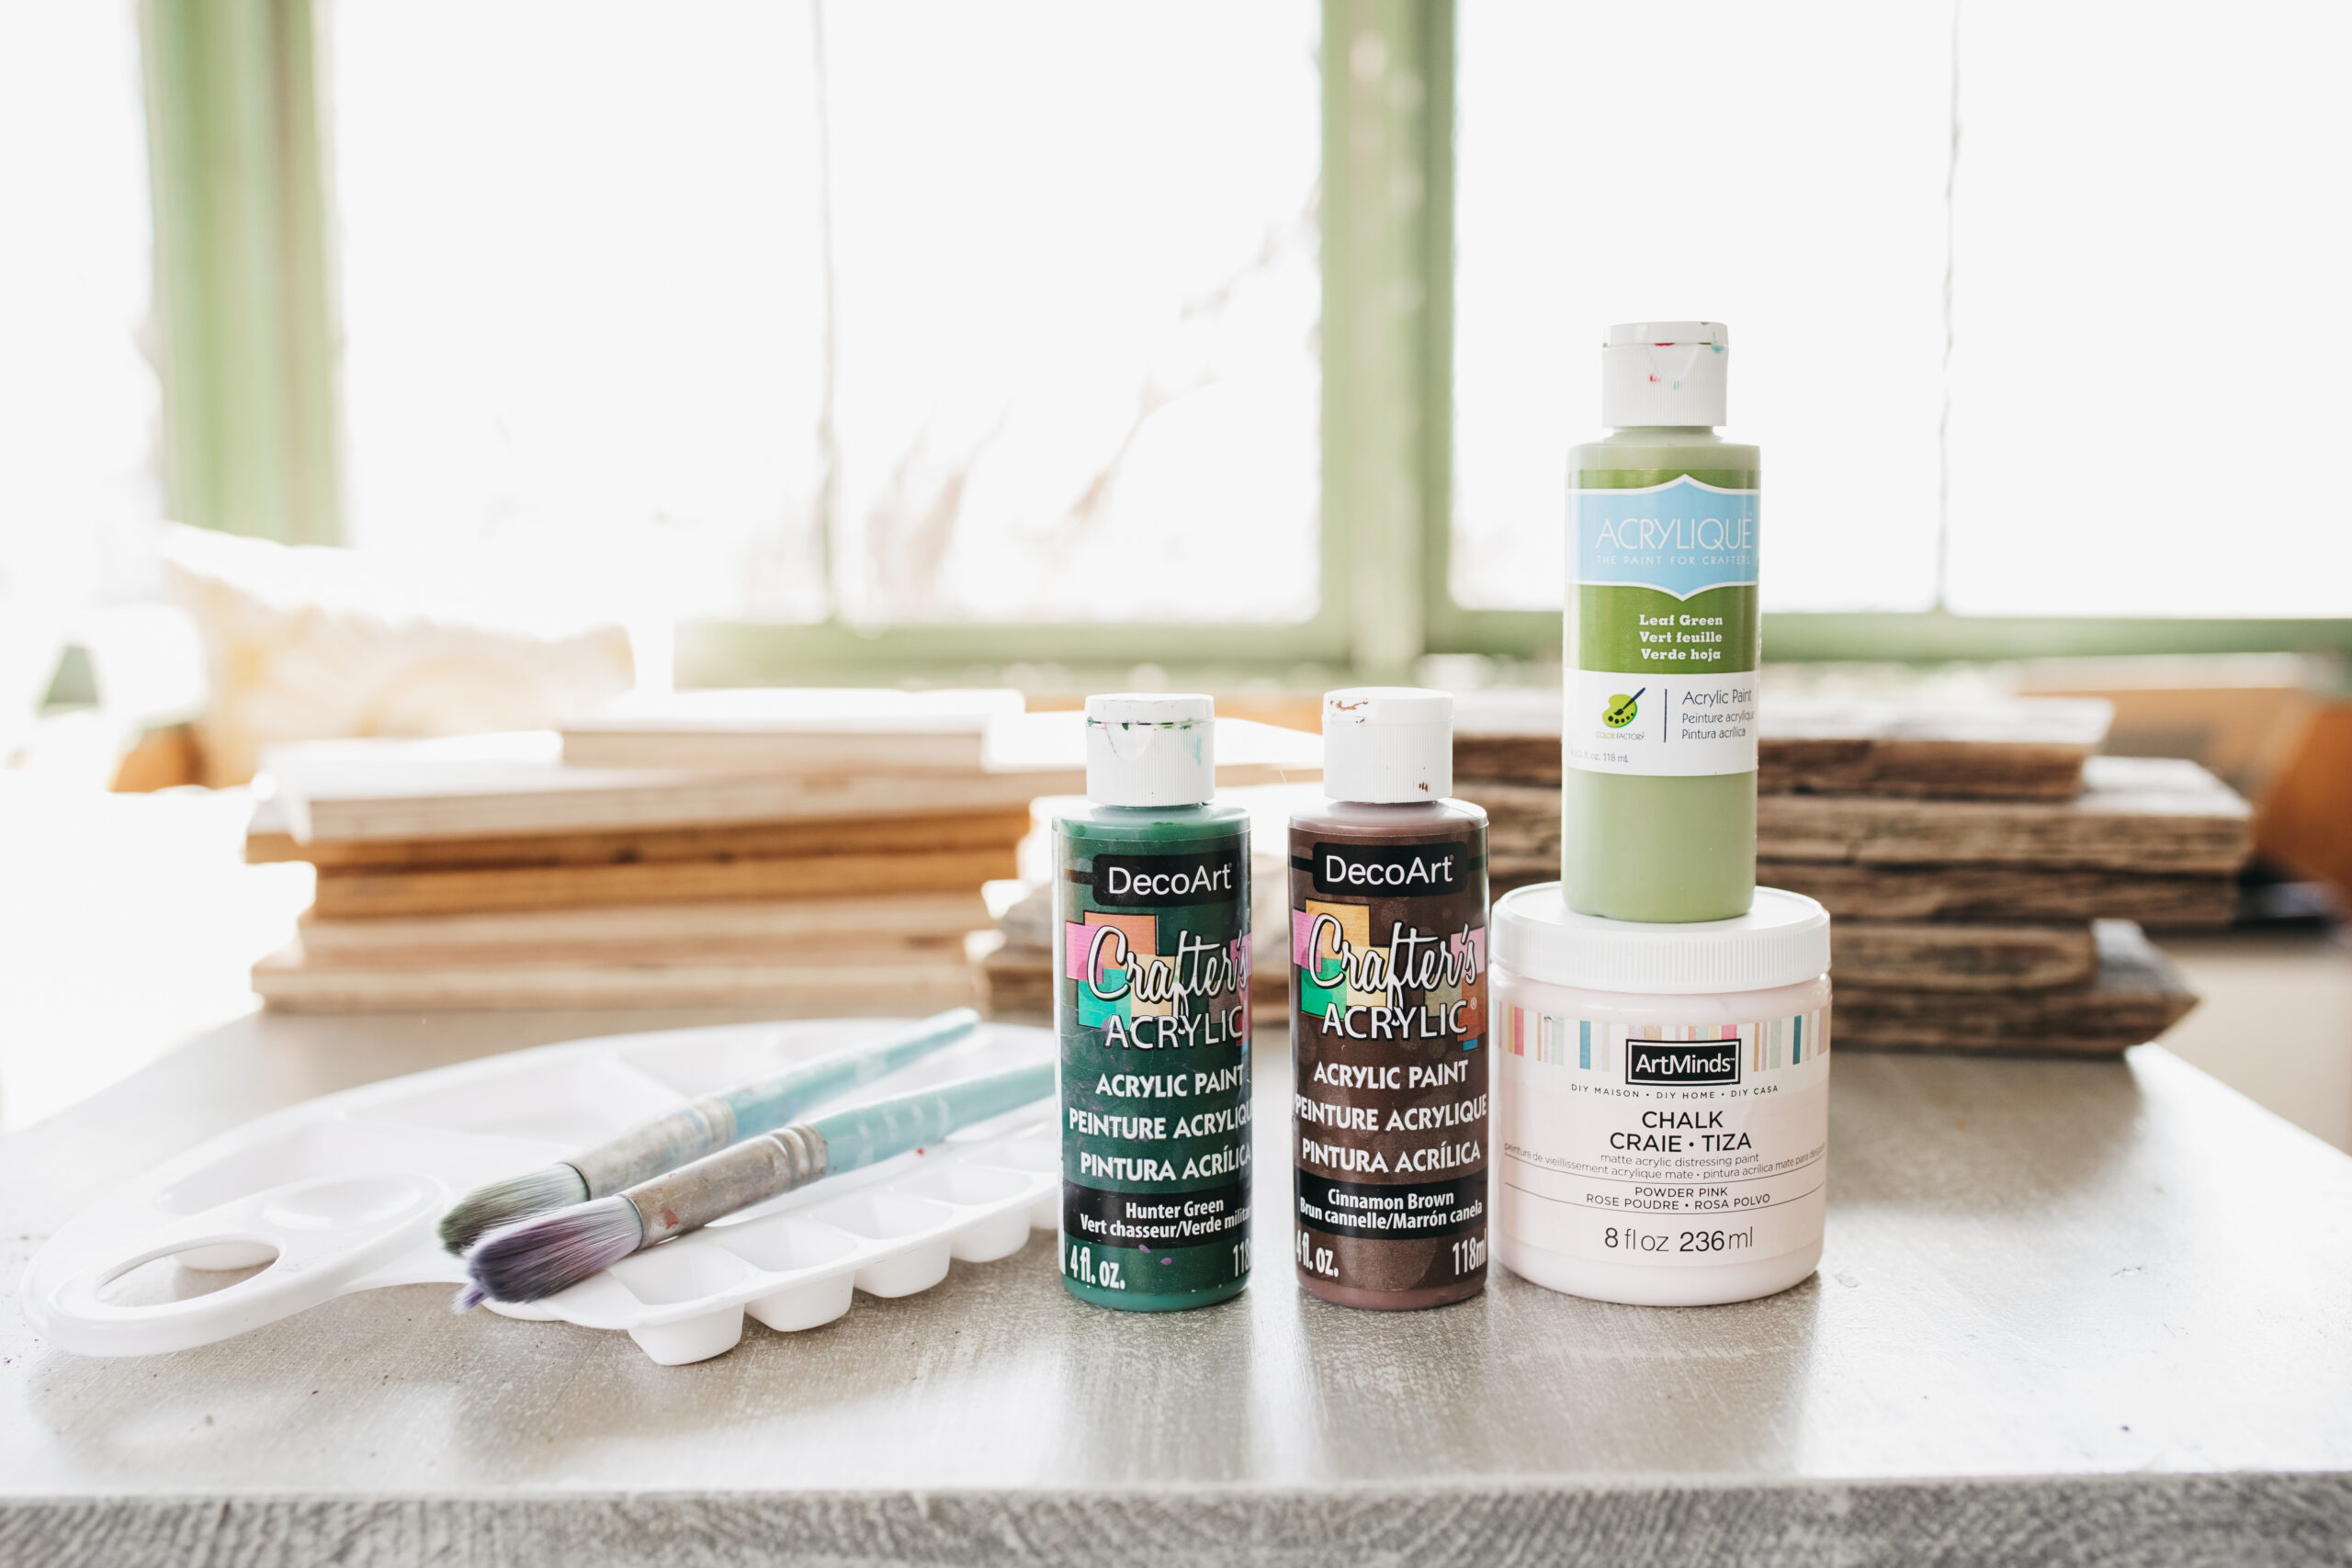
- Acrylic paint or stain

Birdhouse DIY Steps
Step 1
First things first, if you are using scrap wood and it’s quite rough, you’ll want to sand it down really well. I wouldn’t use anything extremely rough that would damage wings or feet. Ultimately, you’ll want to use the material that you think will last the longest.
Step 2
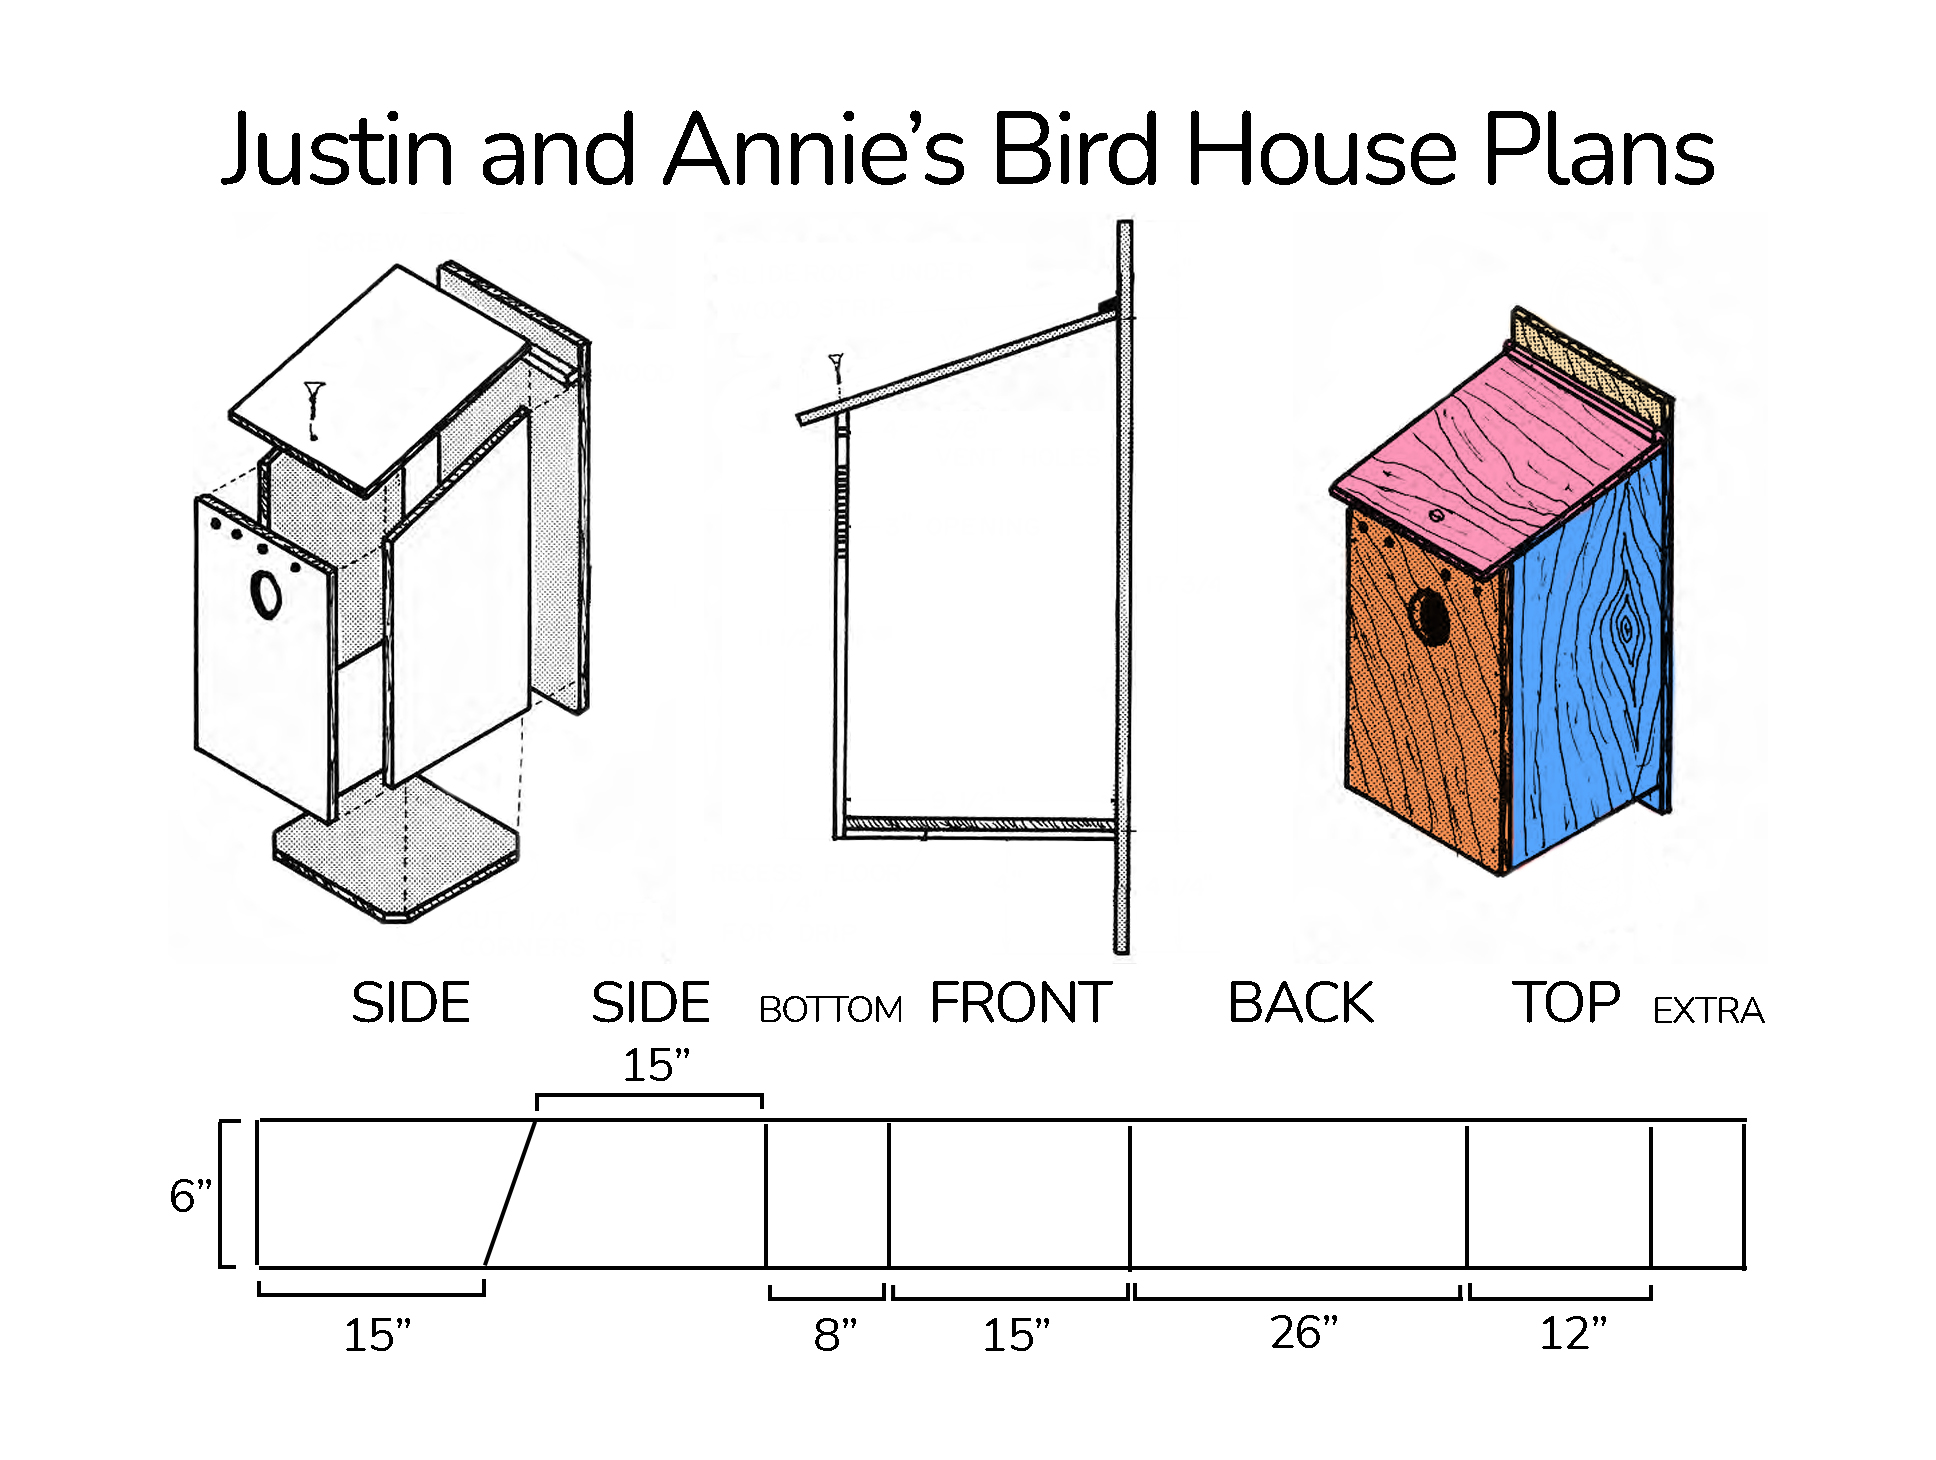
Next, you’ll need to use our birdhouse plan below to trace out the birdhouse. Once you have all of the pieces traced out, you can begin to cut them out with your table saw or a skill saw, just make sure you are using PPE for this step.
Step 3
Now that you have all of the pieces cut out, you’ll want to use your hole saw bit to cut out the entrance to the birdhouse.
Step 4
Give all of the pieces a final sand, especially the hole you just cut out. Make sure there are no rough edges or pieces of wood sticking out.
Step 5
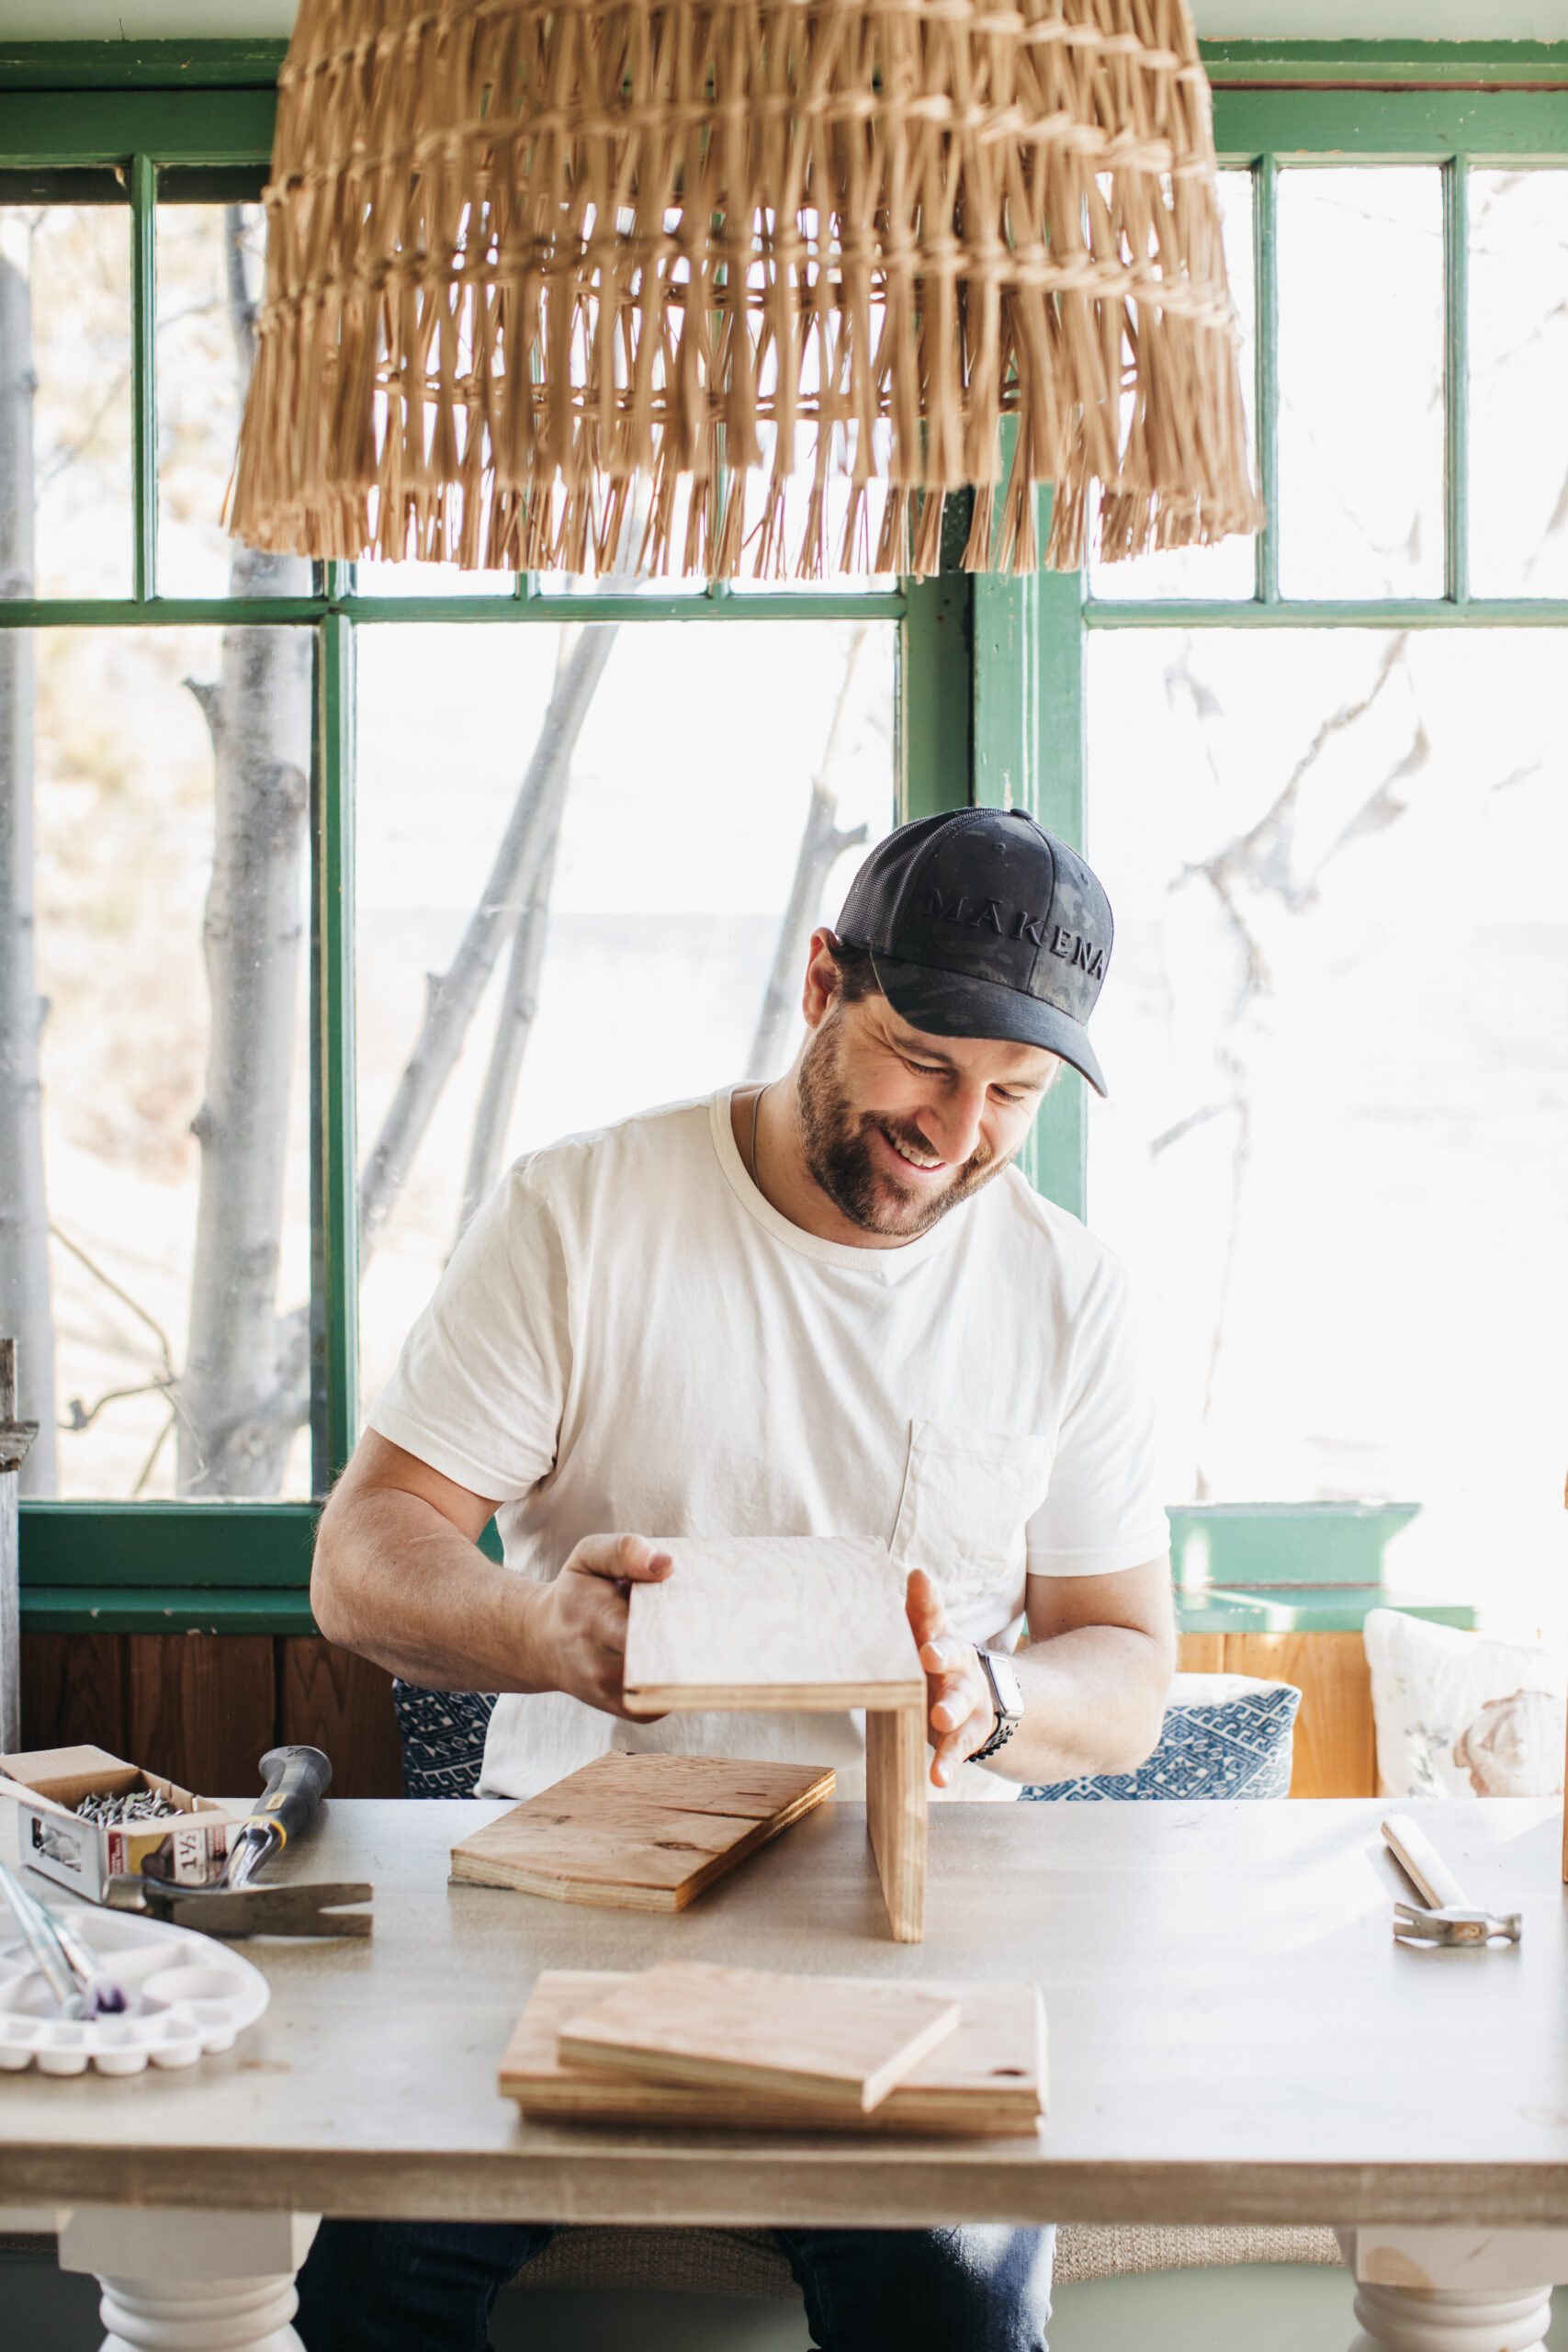
Line up birdhouse pieces and use a hammer and nails to secure them together. I like to use at least 3 nails per side, just to ensure it’s extra secure for all of the birdie boning going on LOL… they’re in there for a short time, not a long time!
Step 6
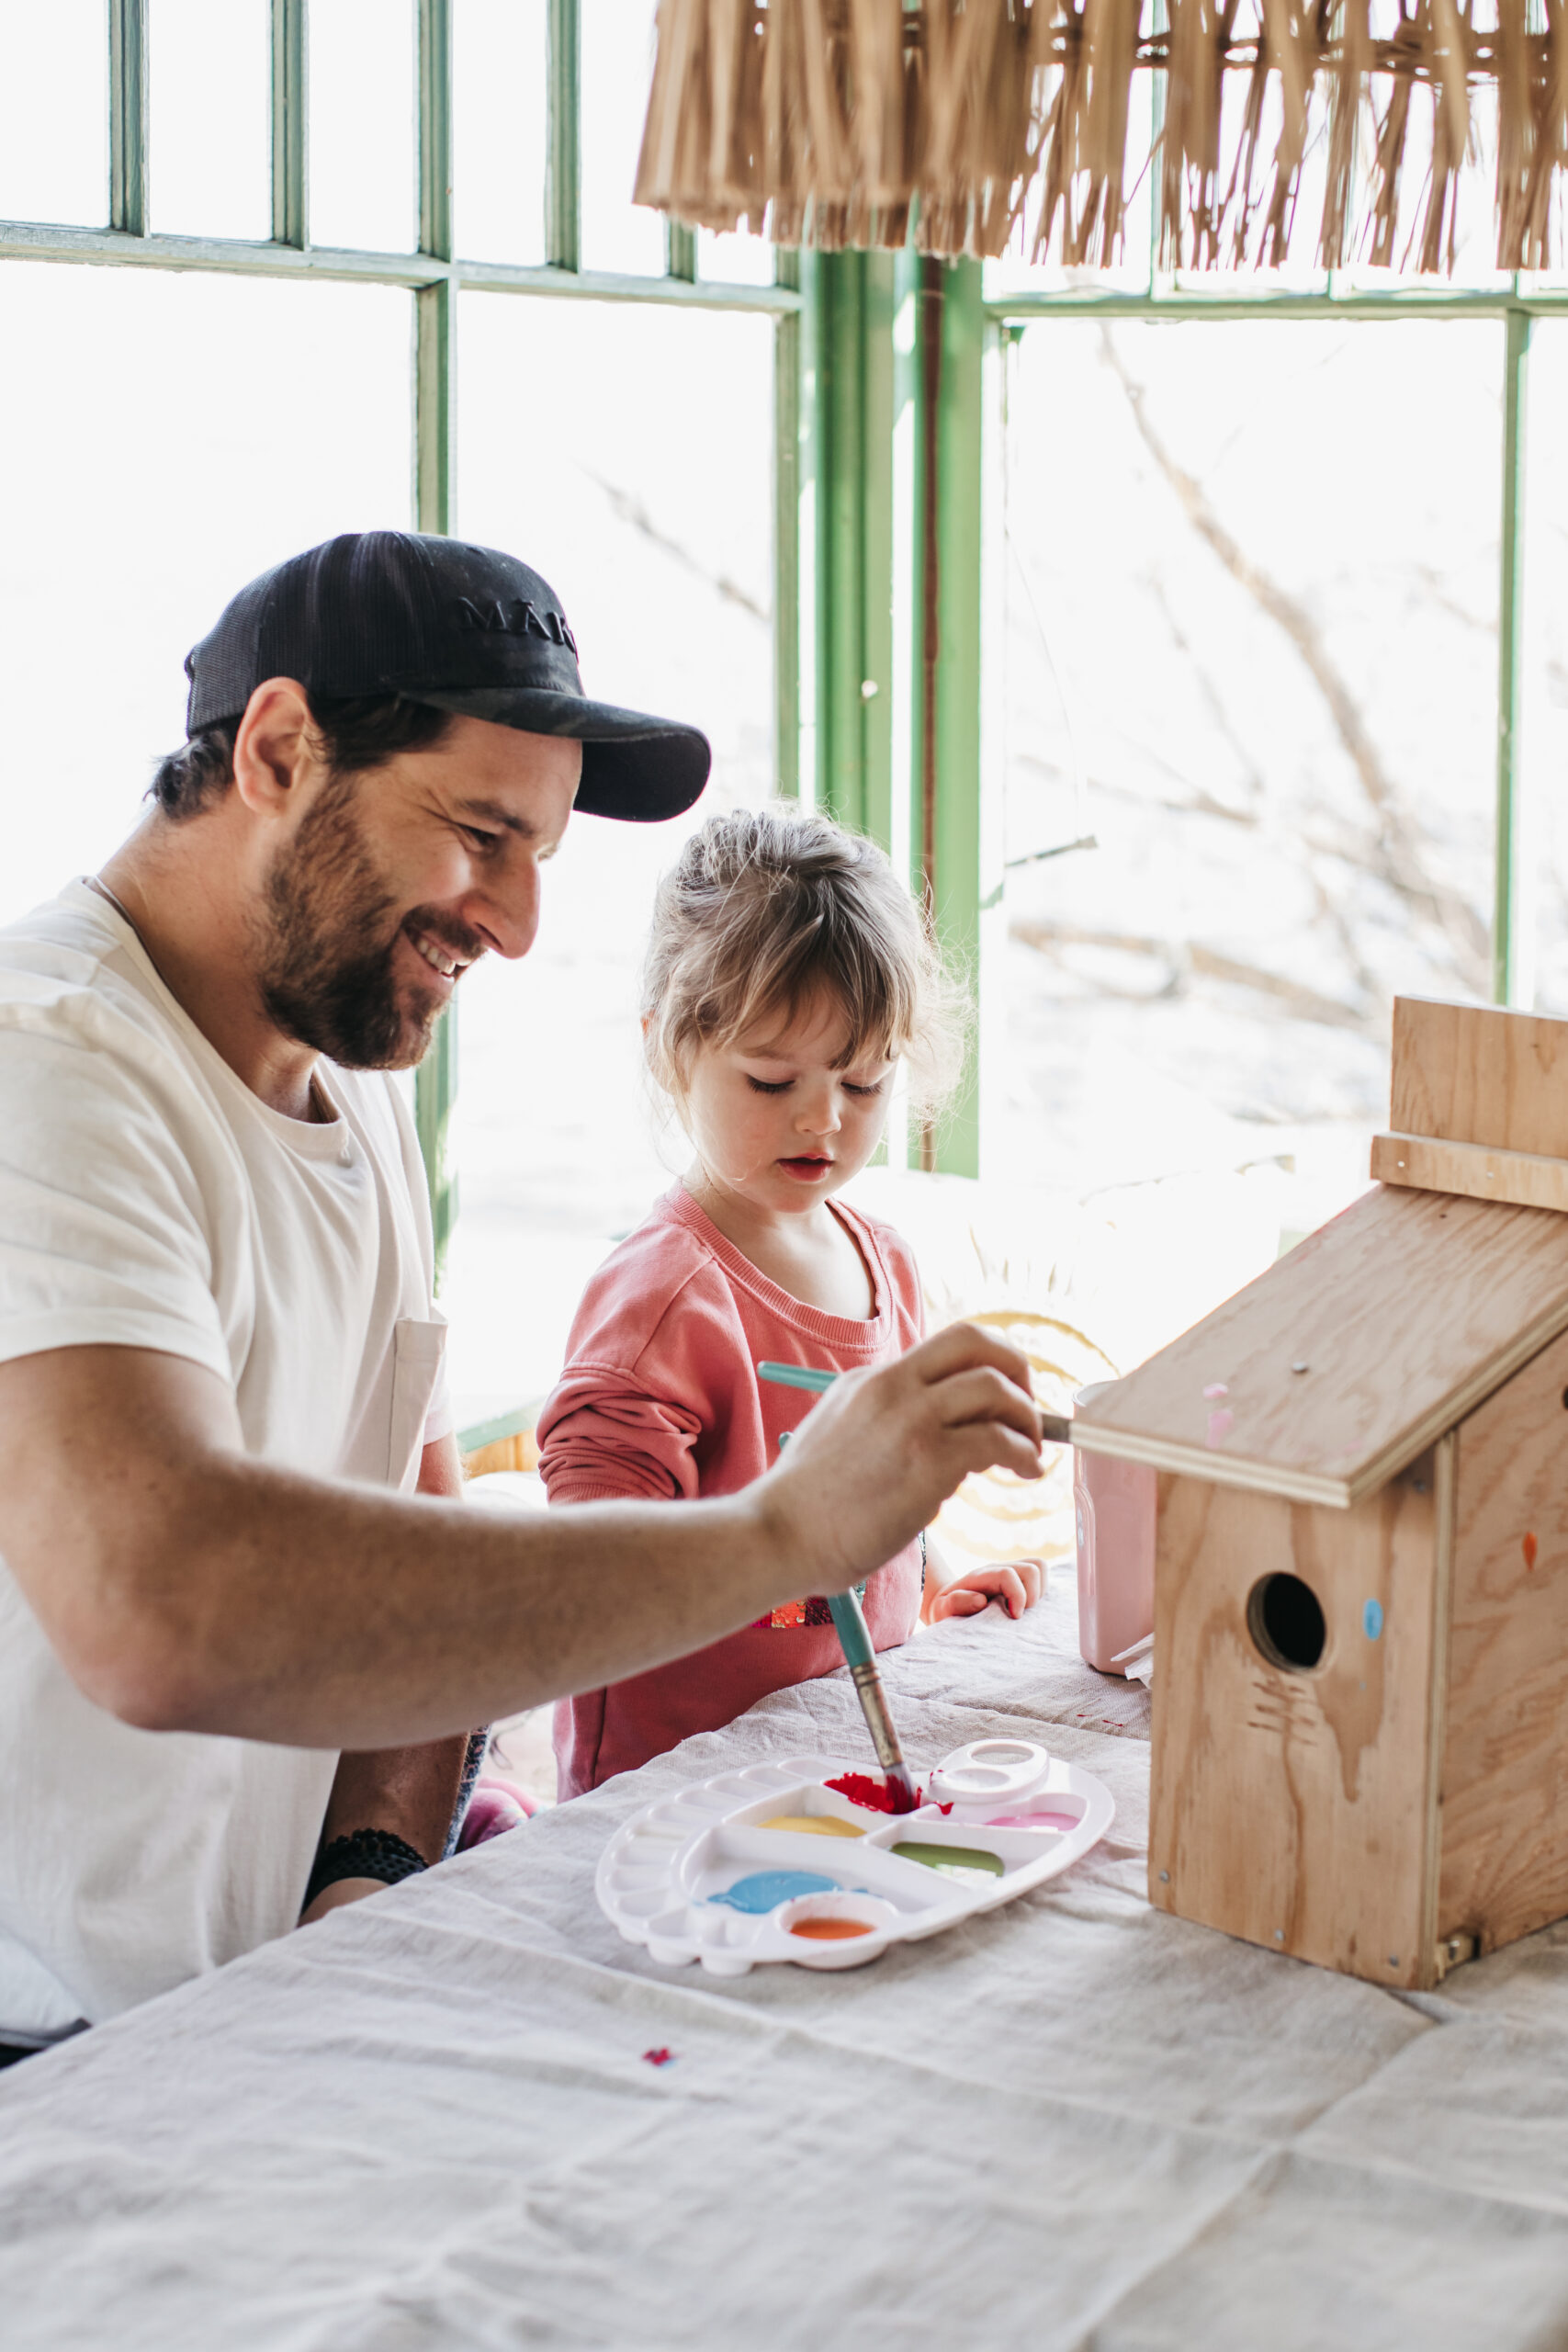
Now that your birdhouse is all secure, you can either paint it with acrylic paint or stain it.
Step 7
And finally, it’s time to screw your birdhouse to a fence post or your desired location!
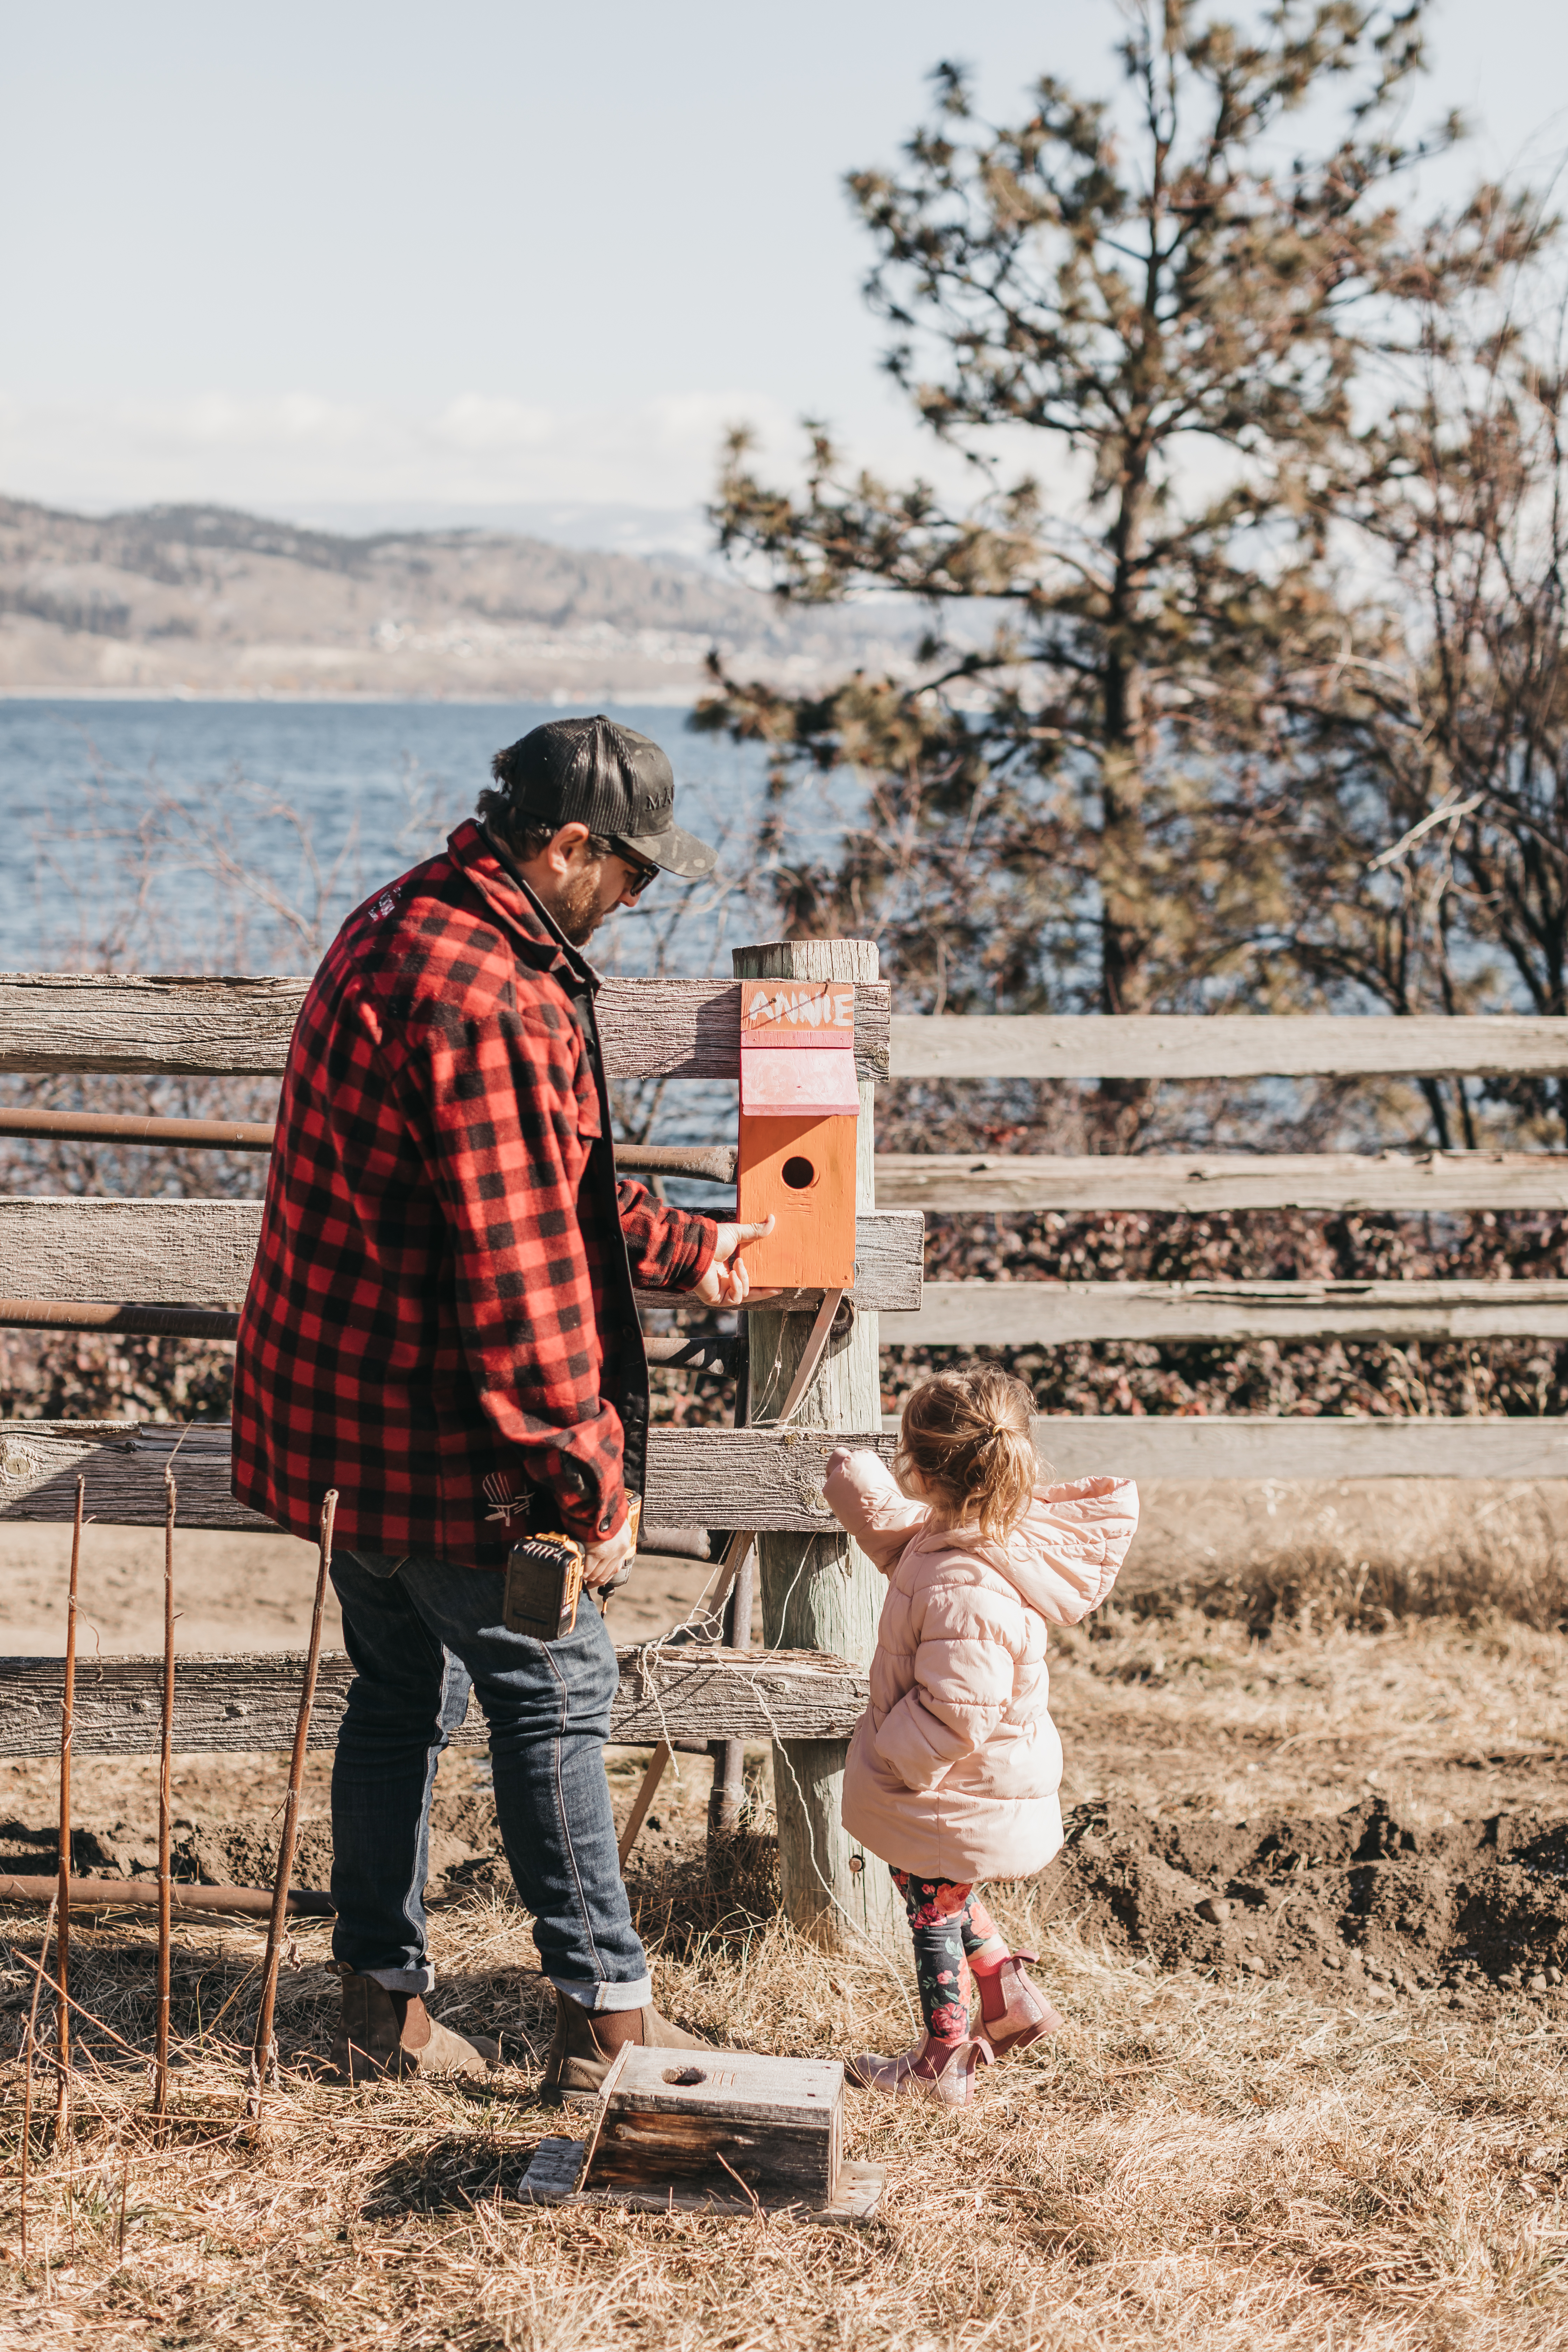
There you have it! A relatively easy birdhouse DIY project that will bring a little magic to your backyard this season, and such a fun project to get the kids involved in too!
Until next time!
Justin